Windows 7 Installation (Beta Build 7000) Step by Step Screenshots
Windows 7 Beta (X86) installation
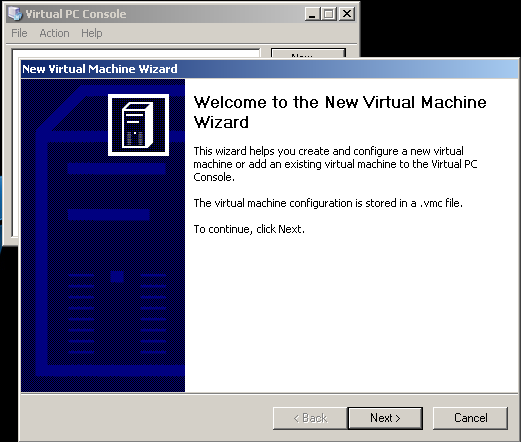
The Windows 7 installation on a Virtual PC starts with the New Virtual Machine Wizard. Right after the MS Virtual PC 2007 is started click on the New button on the Virtual PC Console. The New button will activate the New Virtual Machine Wizard.
The New Virtual Machine Wizard helps users or administrators to create and configure a new virtual machine or add an existing virtual machine to the Virtual PC Console. The configuration of the new virtual machine will be stored in a .vmc (virtual machine configuration) file.
Click Next to continue for the next step in the wizard.
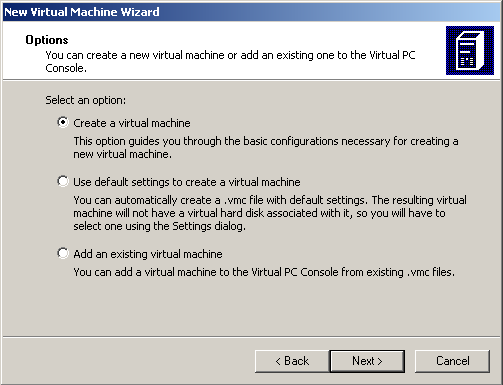
The next step in the Virtual Machine Wizard is identifiying whether a new virtual machine is going to be created or an existing virtual machine is going to be added to the Virtual PC Console.
Since we are going to create a new virtual pc for the Windows 7 installation, select the first option and let the wizard guide through the basic configuration necessary for the creation of the new Win7 virtual machine.
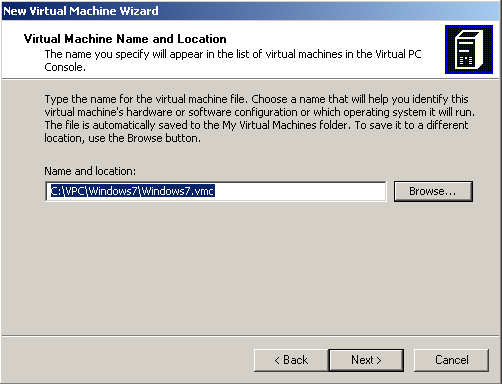
The Next button will let us to the Virtual Machine Name and Location dialog screen. In this screen, we can specify the name of the new Virtual Machine that will be listed among the others on the Virtual PC Console.
The name of the virtual machine will also be the name of the virtual machine configuration files name. And by default this .vmc file is going to be stored to the My Virtual Macines folder. You can alter the saved folder like me, if you prefer storing your virtual machines and configuration files on some specific folder. I choose to keep all the virtual pc's on C:\VPC folder as you see in the Name and location input area.
Then we will select the most approtiate operating system we plan to install on the new virtual machine. Since Windows 7 is not listed in the Operating system dropdown combo I preferred to select Windows Vista as the most recent operating system among others.
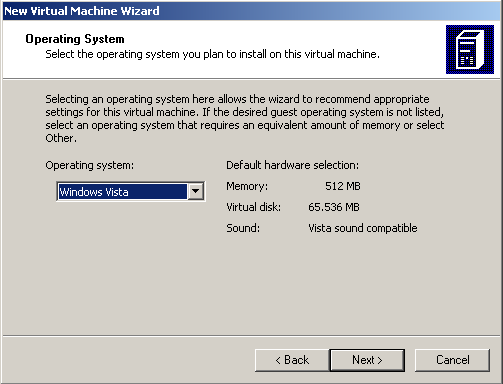
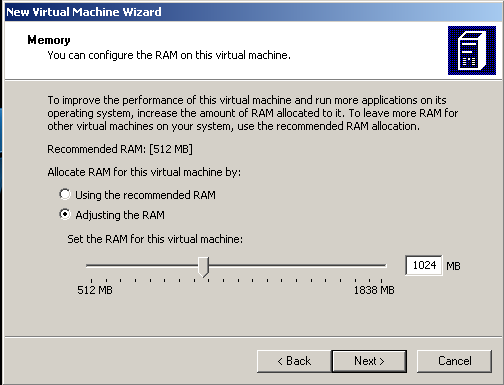
I adjust more than the recommended RAM amount (512 MB). I allocated 1024 MB for the new Windows 7 virtual machine.
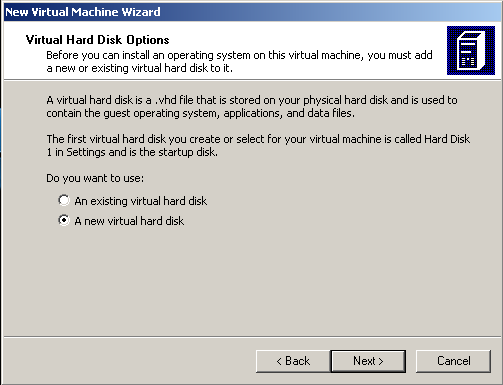
Next step in the Virtual Machine Wizard is configuring the Virtual Hard Disk options. In this step, we can configure a new virtual hard disk or add an existing virtual hard disk to the virtual machine. Of course since we are going to build an installation disk I mean a system disk, we will select to use a new virtual hard disk.
By the way, after all the installation steps are finished and the Windows 7 virtual pc is up and running, the size of the virtual machine disk .vhd file is about 6-7 GB size on the hard disk.
OK, now here in this step you will specify the name and the location of the .vhd file. Again you see I keep the .vhd file in the same folder as the .vmc file.
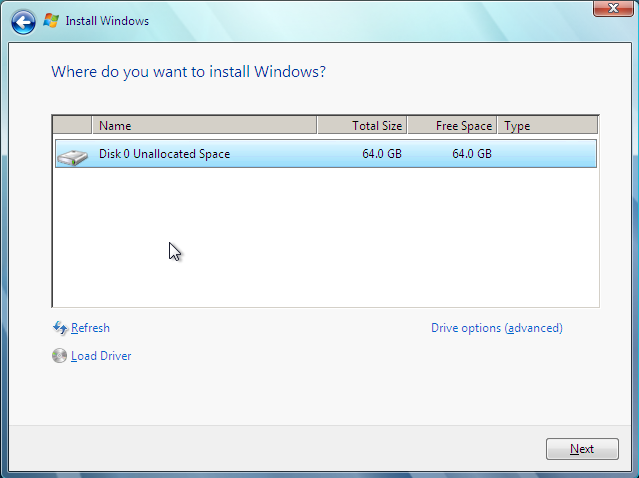
Note that the virtual hard disk size is not the .vhd file size on the host system. As I pointed out at the end of the installation the .vhd (virtual hard disk) file will be about 6 or 7 GB in size on the host system. But within the virtual machine the virtual disk drive will be seen as the size specified in this screen. I preferred as size of 64GB for the new Windows 7 system.

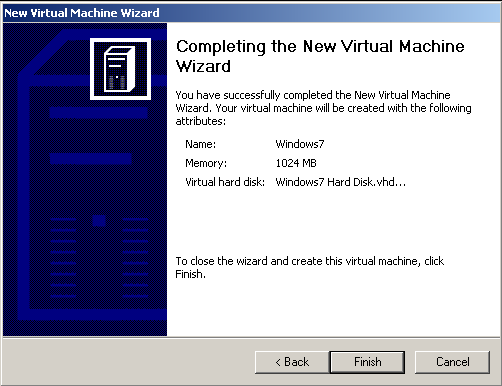
The wizard has guided us to the end of the configuration. Now with the specified properties the virtual machine will be created by clicking on the Finish button.
As you see, on the Virtual PC Console the newly created virtual machine is listed with the name we have selected during the configuration steps.
Now it is time to install the Windows 7 on this new virtual machine.
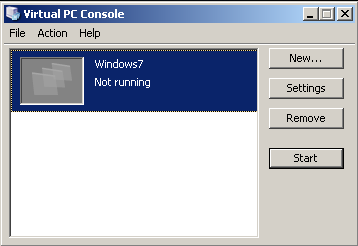
Press Start button on the Windows7 Virtual PC on Microsoft Virtual PC 2007 Console.
On the black screen you will be prompted to reboot or insert a new boot cd.
Then on this new screen go to menu and select "CD" then select "Capture ISO Image..."

A file dialog screen will be displayed and ask us to select a CD image to capture. As you see, you can select an .iso CD image file as the source of the capture.
I have downloaded and placed the Windows 7 Beta for X86 CD image file en_windows_7_beta_dvd_x86_x15-29073.iso file on my hard disk and I pointed out this installation image file.

After you select the .iso installation DVD image and click Open to continue, the below screen will be displayed indicating that the installation of the Windows 7 is starting.
The Windows installation will continue on a blue screen as shown below afterwards.
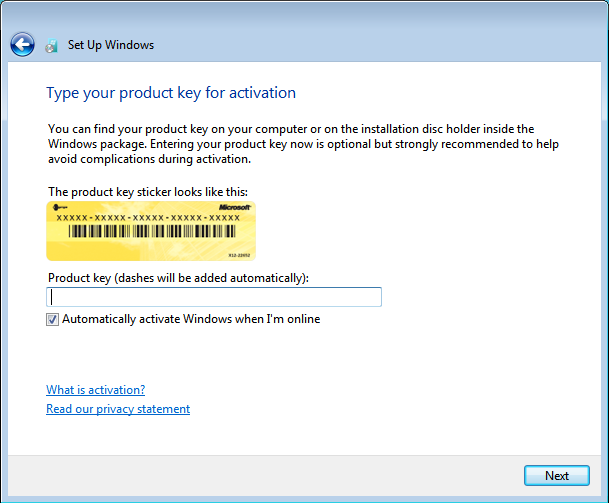
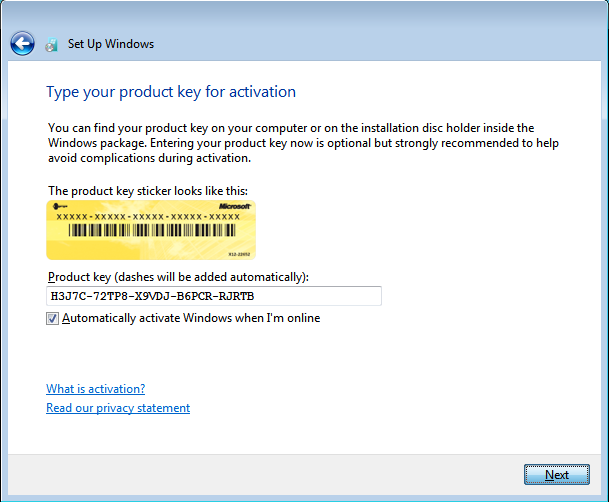
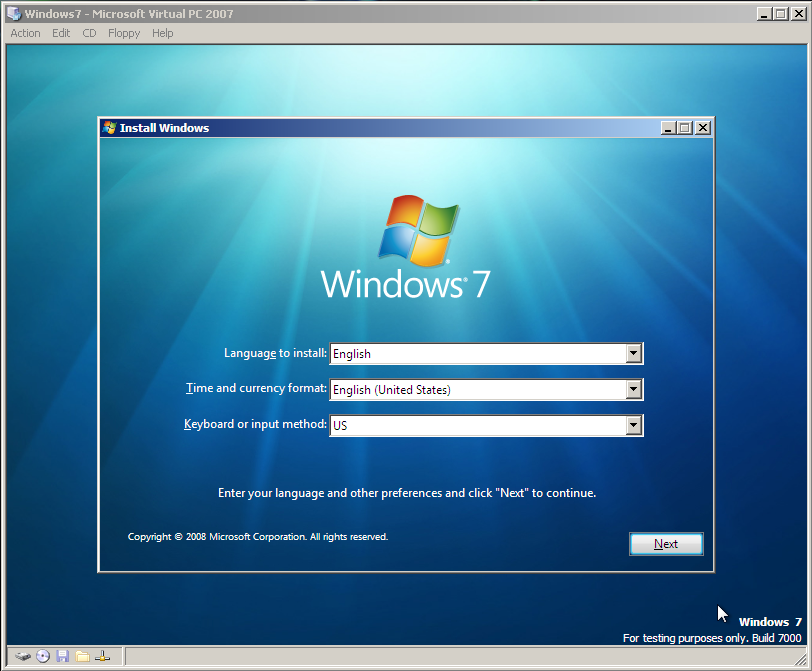
The first data that will be collected from the user is the Language to install, Time and currency format and the Keyboard or input method.
You can select from the dropdown comboboxes for values most approtiate to your needs.
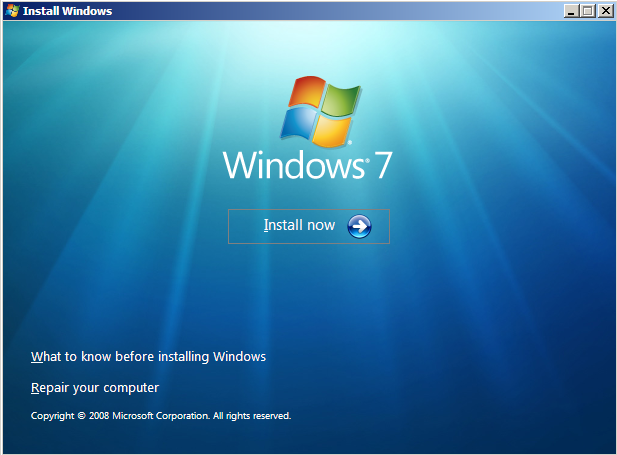
After the three data is supplied to the installation wizard, the below screen is displayed. You can start installation of Windows 7 by clicking on the Install now button.
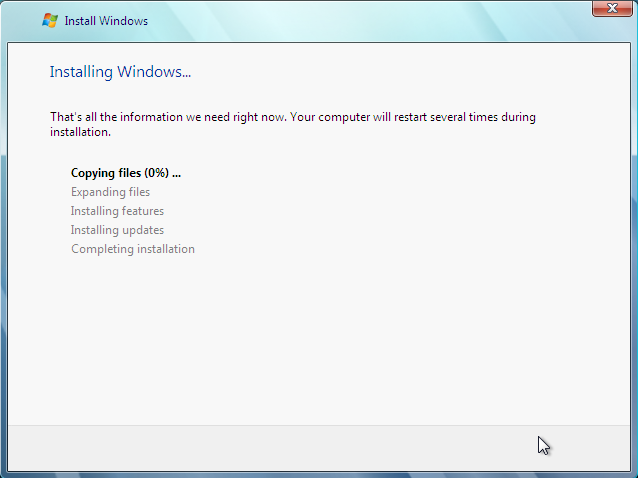
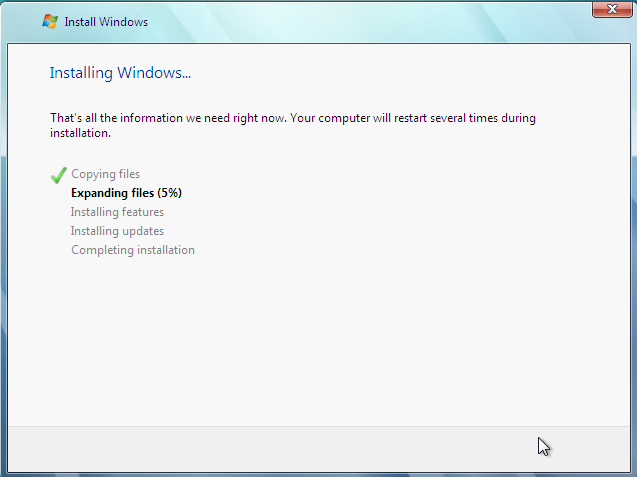
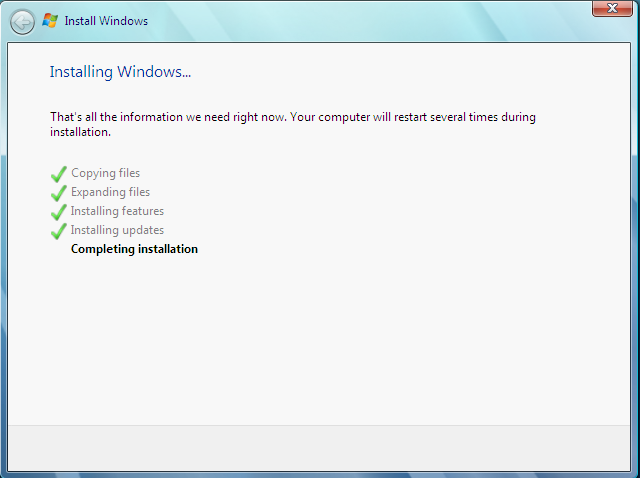
Windows 7 Setup is now starting on the operating system side on virtual machine.