Connect Data Virtuality to Snowflake Data Warehouse Databases
In this data virtualization guide I want to show SQL developers and data virtualization architects how they can connect Data Virtuality to Snowflake Cloud Data Warehouse databases using the Snowflake connector. If it is required to give brief information about Snowflake Data Warehouse, it is the first data warehouse solution built for cloud. It runs as a Software as a Service (SaaS) solution on public clouds like Amazon AWS, Microsoft Azure and Google Cloud but not available as a on-premise solution.

In this tutorial, I want to show how easy it is to connect to a Snowflake database from your Data Virtuality instance using the Snowflake connector.
First launch Data Virtuality Studio and connect to the Data Virtuality instance you want to connect to your Snowflake data warehouse platform.
Then on Data Sources node right click and choose "Add data source" option.

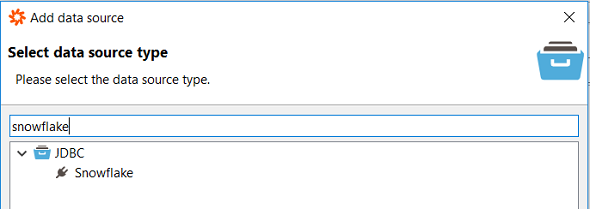
When the new data source wizard requests you to select the data source type, start typing "Snowflake". It is listed under the JDBC connections list as seen in following screenshot.
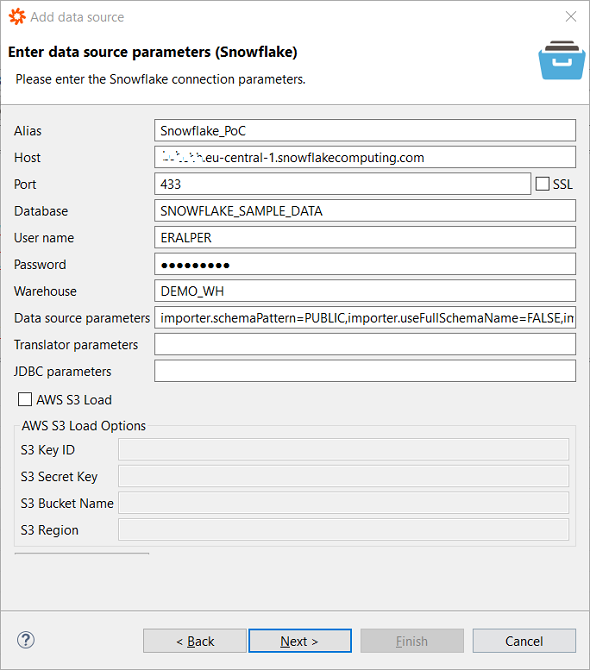
In the next screen data virtualization professionals should provide the data source parameters specific to Snowflake data warehouse connection.
For a successfull connection, the Snowflake DWH administrators should provide you following parameter values:
Host: Host is the URL address that you will use to connect your Snowflake Data Warehouse account.
Host address is in the format kodyaz.eu-central-1.snowflakecomputing.com
Within the host address, there is an identifier specific to your account, the AWS region code where the account is created in and the domain "snowflakecomputing.com"
Port: Port is in general 443 and is the HTTPS secure internet traffic port
Database: Enter the database name that you want to connect from your Snowflake data warehouse platform. Unfortunately, you have to create separate connections for separate databases you have created on your Snowflake data warehouse.
User name and Password: These are the required credentials of a valid database user created on Snowflake DWH with access priviledges to target Snowflake database.
Warehouse: Warehouse is the Virtual Data Warehouse which is selected to spin-up during queries executed by Data Virtuality developers. If you know about the Snowflake Data Warehouse architecture, you will know that although the data storage layer or the database is unique or single within the Data Warehouse, the computing layers can be multiple. These are the virtual data warehouses and can be in different sizes and compute powers. In fact, by selecting the Virtual Data Warehouse in this parameter for your Data Virtuality workloads, you also define the performance and cost parameters of your workload.
Other parameters can be left as default at this step.
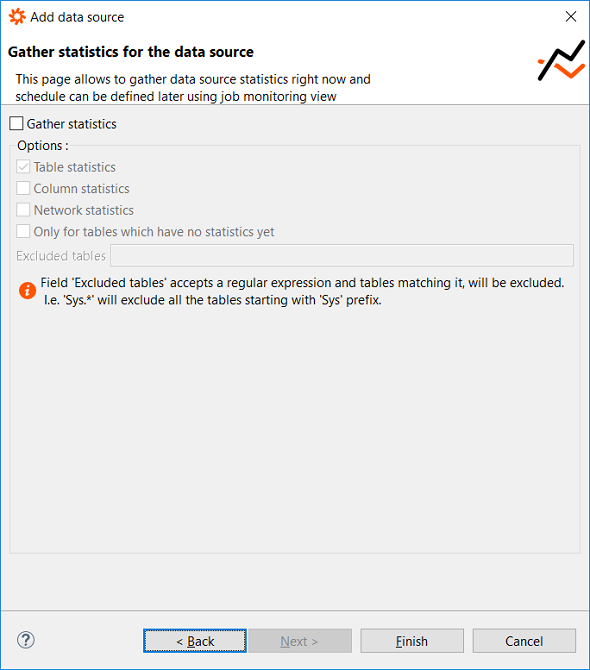
Next step in connection wizard is as usual in Data Virtuality about gathering statistics about the Snowflake data source. If you want to gather statistics and enable Data Virtualization software offer performance improvements for you automatically, mark the checkbox "Gather statistics"
When you click Finish button, if the Snowflake database connection parameters are correct, success message will be displayed as follows:

When you click OK button, the Snowflake database connection will be added to the Data Sources list and you will be able to see the tables and views created under the database.
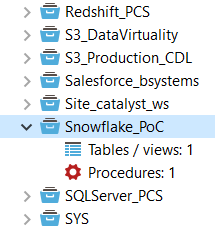
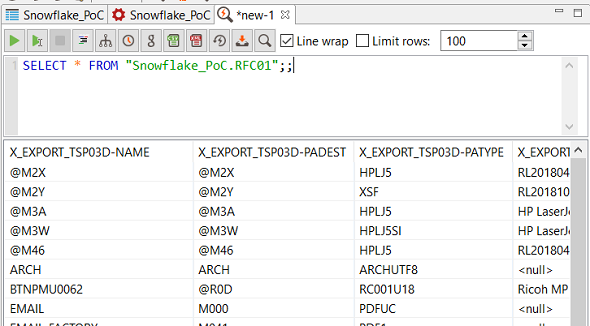
Since my Snowflake database was empty during the creation of this Data Virtuality tutorial, there was only one table as you can see on node Table/views. Data virtualization developers can build and execute SQL queries on Snowflake database tables using Data Virtuality Studio as follows easily.
